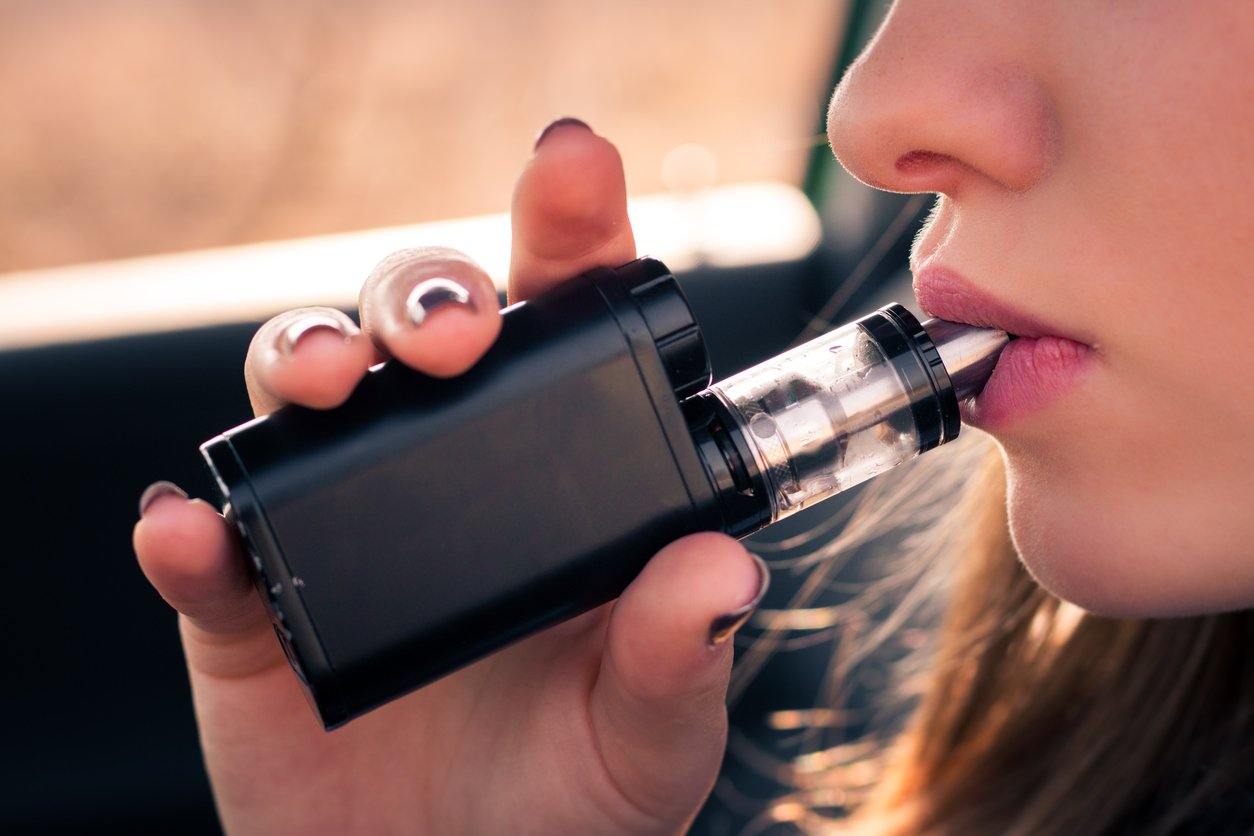
Whether you're new to vaping or a more experienced vaper looking to upgrade, choosing an atomizer that fits your style and budget is obviously important. We're going to start with basics for new vapers, going over what the atomizer does, the broad different designs that exist, and an introduction to atomizer setup. After that, for vapers seeking a replacement, we'll discuss whether to rebuild or replace your atomizer and if replacing, how to properly dispose of the old one.
What An Atomizer Does
Although they've become associated with vaping in recent years, atomizers are simply heating coils made from resistance wire which create vapor out of liquid when heated. With respect to vaping, references to atomizers can mean the coil itself or the device containing it; it's usually not hard to figure out what someone is talking about, but be aware of the potential confusion.
Types of Atomizers
If you're a new vaper doing research, it's very easy to get lost in the jargon forest. What's the difference between an RDA, an RTA, and an RBA? Does the type of coil wire matter? What about the wick? If you're both new to vaping and have little knowledge of electrical terminology, you could go to the page for this starter kit and say, "What does any of this mean?"
It's ok. Don't worry about the more technical terms yet. As you become more experienced, you'll inevitably chat with people who know more about this stuff, as well as learn through your own minor experimentation. For the moment, just look at one aspect of atomizer choice that's relatively easy to learn: the difference between atomizers, cartomizers, and clearomizers.
The first thing to understand is that all three serve the same purpose—to atomize e-liquid. Stand-alone atomizers tend to attract more experienced vapers, as they are preferable for those who vape through dripping, the art of applying e-liquid directly to the heating coil. Of course, because the juice must be directly applied to the coil for every hit, using an atomizer this way means setting up to vape takes longer and always has the possibility of getting messy if your hand slips.
The draw of this method is that the flavor of the juice is much more evident when dripping. Since the atomizer doesn't rely on a cartridge or tank to supply the liquid, it's never left sitting for a long time, nor is old liquid ever mixed with new. As long as the coil is clean, and they find the relative inconvenience is worth the improved experience, vapers tend towards dripping. But you're new, so consider this something to explore in the future.
Cartomizers are a little outdated and harder to find, but you can still get them, so: a cartomizer tends to be longer than an atomizer (and are sometimes called 'extended atomizers'). They tend to have two heating coils, which lowers resistance and provides more vapor at the cost of chewing through batteries much faster. They also use fillers or Poly-fil rather than silica wicks, which can be destroyed if you dry burn (take a hit without enough liquid available). At that point, you can remove the wick and use it as an atomizer, but it's not a cartomizer anymore. The upside is that they're both easy to carry and can hold several drops of juice, so you can sit back and have an extended vape session without much effort.
A clearomizer is often a good choice for new vapers. Their tanks hold the most e-liquid (2.5ml to 5ml), which is excellent for people just learning how to vape, as well as those who frequently need their vaping to be convenient (ie. they spend a lot of time on the road). The tanks are usually clear, which makes it easy to tell how much juice you have left, and also helps newbies by teaching them how quickly they go through their juice. In addition, if a clearomizer's coil is worn down or the wick is turning ugly, pre-built coil heads can be purchased. If you're feeling confident (or experimental), you can rebuild the coil and wick yourself. And clearomizers are very customizable in terms of resistance, wick type, tank size, and aesthetics.
Setting Up Your Atomizer
Step One: Follow the instructions.
Step Two: Double-check the instructions.
We're not trying to be snarky. The truth is, some atomizers require following several steps to use them properly, or they have multiple modes of use you can choose from. Here is one example of setting up one type of atomizer from the hundreds on the market. Read the instructions, follow them to the best of your ability, and if you're concerned you'll break something, contact the manufacturer for advice.
Changing Atomizers
If you're still using your starter kit and it's time for a change, the first question is, do you rebuild or replace?
Rebuilding is a great choice if you're comfortable with the idea, and it's not terribly difficult. At a minimum, if you just make coils as close to the ones you're used to as possible, you'll save money buying the raw materials over pre-built coils, and as long as you have the materials, you'll never have to wait for a new coil to ship to keep vaping. If you've used an RDA (rebuildable dripping atomizer), it may be easier to grasp what's necessary.
An in-depth guide to rebuilding your coil is beyond the scope of this article, but you'll need to prepare the following things:
- Resistance wire. Kanthal is most common, but stainless steel, nickel, and titanium are also used. New rebuilders will want to stick with kanthal or stainless steel between 24 and 28 AWG.
- Japanese organic cotton. Industry standard. You can use other cotton types, but Japanese cotton works best.
- A coil 'guide'. This is what you'll wrap the coil around to shape it. Make sure the guide is thin enough to leave you with a coil that will fit on your device.
- Pliers and tweezers to take the atomizer head apart and properly align the leads.
- Wire cutters, scissors, or nail clippers to snip the legs of the coil to an appropriate size.
- The old atomizer head.
- A guide you can trust. Plenty of people online know what they're doing; find one whose instructions you understand and follow their lead.
If you need to replace part of your atomizer (ie. changing the coil on a clearomizer with a pre-built, as mentioned above), you'll receive instructions on how to do that. If the entire atomizer needs to be replaced, however, make sure you dispose of the old one properly. Any part of the old atomizer made from stainless steel or glass can be recycled; take it to the local recycling center. They'll know what to do.
However, if your atomizer has non-recyclable materials like a ceramic coil, do not just throw them out. Wrap them in, or plug them with, biodegradable material, then wrap them again in the same material. These things are potentially toxic to small animals; take a moment and make sure nothing can easily access your old atomizer parts. Please consider the environment and our animal neighbors when disposing of an atomizer.
Hopefully all of this gets you on the path to picking or rebuilding a quality atomizer. Contact us or browse our vapor blends if you're looking for e-liquid to use with your new gear - or Follow us on Instagram!
