


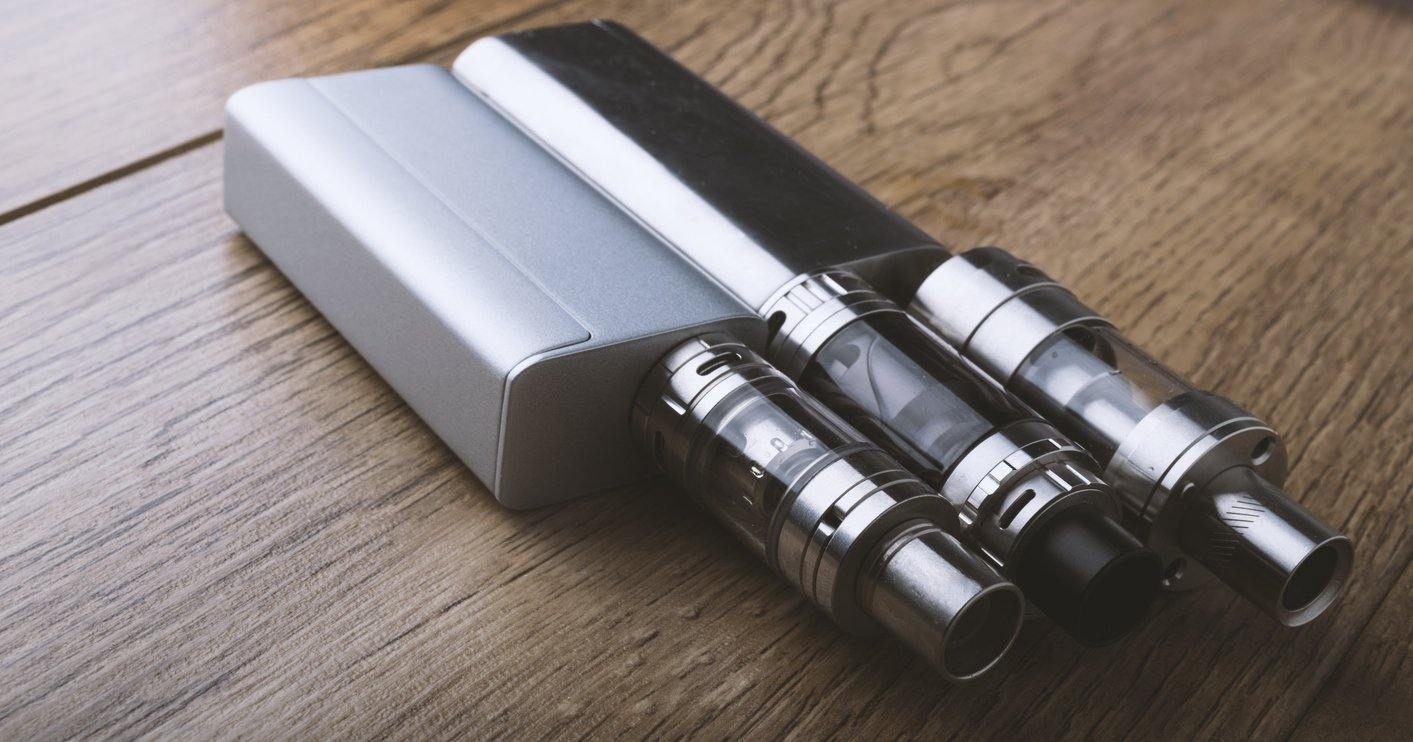
Everyone vapes differently. Not only are there dozens - and maybe even hundreds - of different pen models, but much of the vaping community also custom-builds their own vaping rigs using box mods, atomizers, and mix-and-matching pieces that fit together elegantly. Of course, there are also vanity accessories like rings, lanyards, and the occasional decorative sticker.
And for each unique vaping pen or rig, there is an ideal way to keep everything squeaky clean and hitting beautifully. However, for anyone who has recently begun vaping or is even just trying out a new rig from their usual favorite, knowing how to properly clean your e-cig can be pretty challenging. Most articles out there on how to clean your e-cig or vape rig are surprisingly model-specific. How to clean one that's only three pieces, how to clean a box-mod rig, or how to clean the specific type of pen sold by the writers. And that is surprisingly unhelpful.
Today, the Velvet Cloud team is here to help all our favorite vapers out there (even if we haven't met yet) to clean any e-cig or rig you just so happen to be working with. Maybe you just got a new rig and are vaping with it for the first time. Maybe you're borrowing a friend's. Heck, maybe you're just holding your cousin's rig and thought it would be nice to give it a wipe-down! Here's how to approach cleaning any vape device you might currently be holding, no matter what the make or model.
Step 1) Take Everything Apart
The first step is to completely deconstruct your e-cig. Now, we're not suggesting you pry it open with a screwdriver! Just take apart all the rebuildable pieces. The biggest challenge to keeping a vape pen, mod, or rig clean is the vape itself. As a liquid-turned-vapor, any leaks can allow the e-juice or vapor to escape. Because loosening happens with use, nearly every part of the rig can become coated or saturated.
This means that the only way to get an e-cig rig totally clean is to take it apart and clean every piece separately. Fortunately, most rigs are fairly simple and stack in an easy to understand way. When you're finished with the deconstruction, your list of items should look something (if not exactly) like this:
- Mouthpiece / Drip Tip
-
Tank and Coil / Sealed Tank
- Sometimes called a Clearomizer
- Unsealed tanks come in several pieces
-
Atomizer
- The part that gets hot
- Battery
-
Rubber O-Rings / Gaskets
- Tiny black rubber rings that allow things to seal tightly
-
Intermediate Parts
- Many models have additional parts that contribute to the appearance or functional design.
Step 2) Assemble Your Cleaning Supplies
While every e-cig and vape rig may be different, what you need to clean them, fortunately, stays the same. You only need four different things on-hand to clean an e-cig, and many vaping experts make do with only two or three of the full set when cleaning away from home.
What You Will Need:
-
Isopropyl Alcohol
- 70% or higher
-
Q-Tips
- Any brand of swab will do
-
Paper Towels
- For obvious reasons
-
Clean Mug
- 1/2 full of water
- Small Bowl
The Isopropyl is safer for cleaning delicate and electronic devices than soap and water. It is also safer to clean heating elements with it, provided that the isopropyl is always dry before the next heating cycle. The q-tips are for fine cleaning and the paper towels are for wiping down larger surface areas. The clean mug is for things that can't be cleaned with isopropyl and the small bowl takes us to the next step. You can use a very small bowl, like fone or dipping condiments rather than eating salad.
Step 3) Soak What Can Be Soaked
Almost everything about vape (with and without nicotine or cannabis) can be cleaned with isopropyl alcohol. Pour some of your isopropyl into the small bowl so that the level is an inch or two high. The isopropyl is for soaking, but wait! Do not simply drop every component of your e-cig into the alcohol. Only some of the pieces can be soaked. That said, what you can soak will be infinitely easier to clean with only a short time of immersion in the rubbing alcohol
Sort all the pieces based on how they need to be cleaned. Any solid piece of metal, like caps, vents, and structural pieces go into one pile. These are things that can be soaked in isopropyl.

Next, separate out all the pieces that appear to be glass (but are probably a form of safety glass) and all the rubber o-rings/gaskets. These can be damaged by isopropyl alcohol so they will need to be cleaned with an alternate method.
Finally, set aside the battery and the cotton-core coil, as these are the two most sensitive pieces and must be spot-cleaned carefully. If you have a sealed tank, it goes in this category.
Step 4) The Soak
For your first category of items - the all-metal pile - drop them into your bowl of isopropyl. Make sure there is enough alcohol in the bowl to cover, but you have no need for any more than that.
Take your half-mug of water and stick it in the microwave for 1-2 minutes, or long enough to boil the water. When the water is boiling, drop in any o-rings. If you are dealing with a tank that comes apart with a safety glass piece, drop it into the hot water as well.
Step 5) Q-Tips and Paper Towles
Now that you've got most of the pieces passively cleaning themselves, you can turn your attention to the delicate pieces. Use a paper towel lightly moistened with isopropyl. Polish the outside of the battery and any grooves you can touch with the paper towel. Use a q-tip dipped in clean isopropyl to get all the little grooves and the power connection at the top.
If you have a pre-sealed tank, use the same paper towel and q-tip method. If you are working with a rebuildable cotton coil, simply use q-tips and don't touch the cotton itself or risk soaking the cotton in isopropyl.
One at a time, remove items soaking in isopropyl and use a soaked q-tip to finish the job by removing any remaining residue. Then remove the items (carefully) from your cup of hot water and polish them with a paper towel until no residue remains and they appear sufficiently clean.
Step 6) Reassemble and Tighten
Once everything is clean, make sure everything is dry. You can lay everything out to dry or use a cloth/paper towel to do the job. Then begin to fit your e-cig or pen back together. Carefully make sure that every piece goes together the way it did originally, and if you're not sure because it's a new rig, look up the model assembly online. This is especially important in replacing all the o-rings where they belong to ensure it all seals together correctly.
When each piece is in place, carefully tighten the rig until the setting is firm but without wrenching it as tight as it goes. Too tight on the battery and you could have pin-related problems. Tighten too much on your o-rings and you'll rupture them.
Step 7) Fill With High-Grade E-Juice
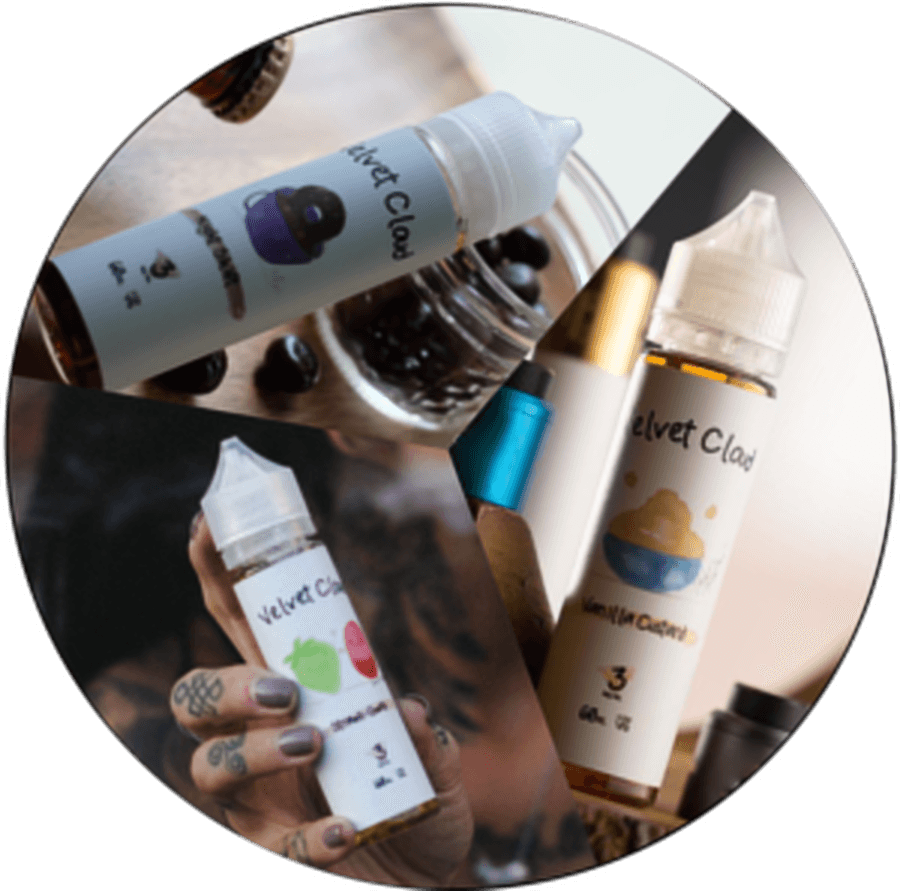
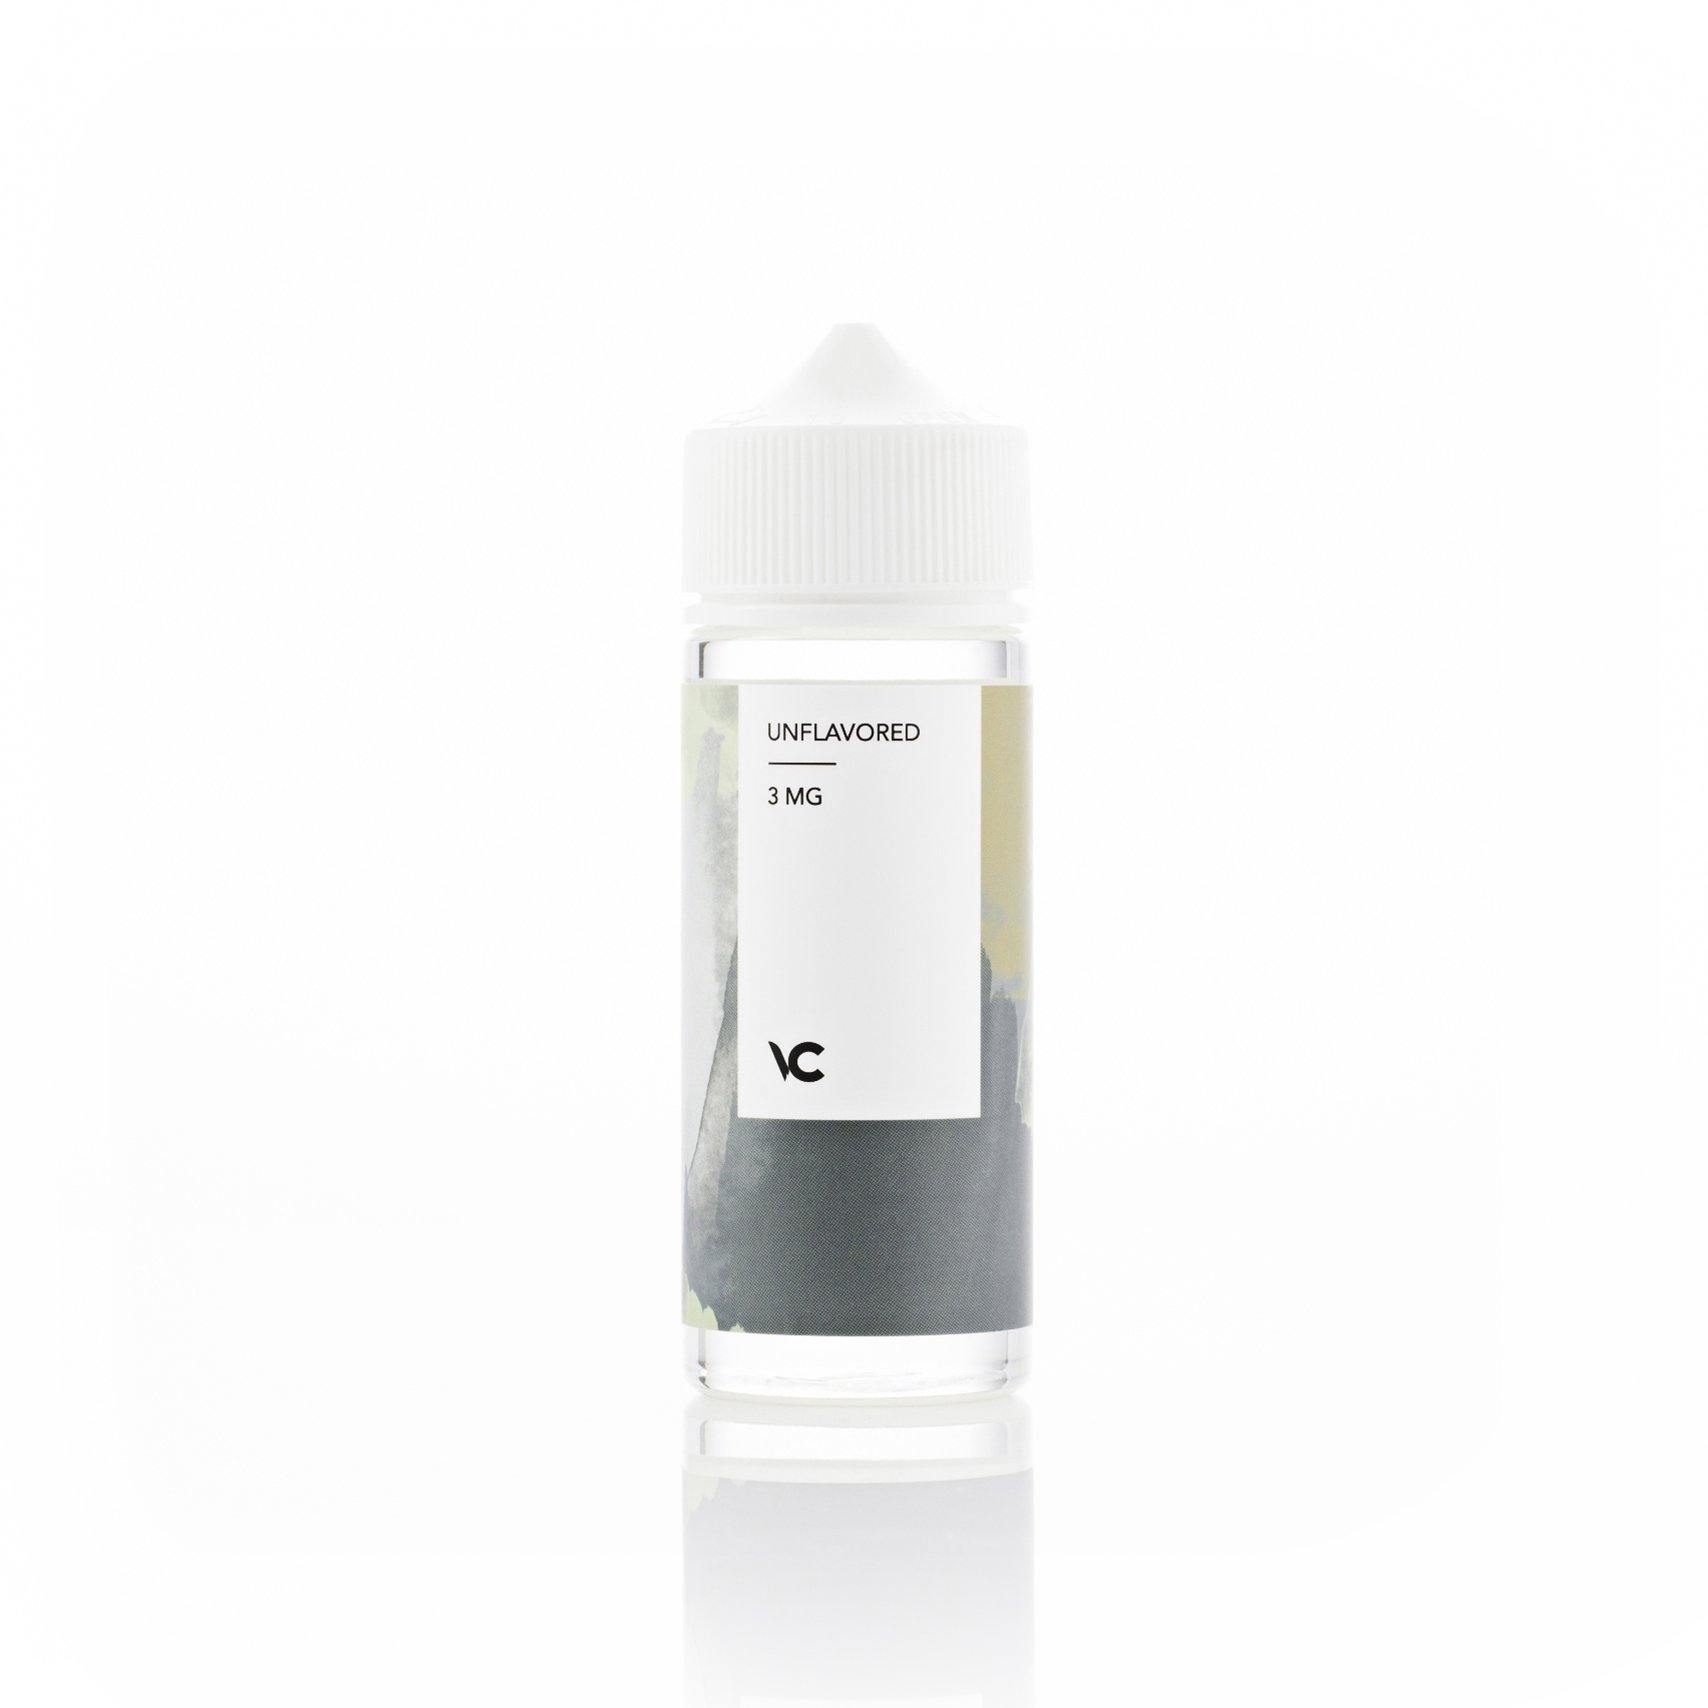
Finally, you are ready to enjoy some delicious high VG e-juice in your sparkling clean and perfectly tightened e-cigarette, pen, box mod, or custom rig. In order to best enjoy the rich flavor of any high-quality e-liquid, it's always best to start with a very clean rig.

Fill the tank slowly - only a small amount at first - and tip your pen or rig all the way around to make sure that you detect no leakage from the bottom. This proves that you tightened the lower o-rings correctly. Then, finish filling the tank to your satisfaction.
Step 8) Enjoy
Speaking of satisfaction, you are now ready to vape delicious, flavorful clouds in a beautifully clean e-cig. Or, if you were cleaning the rig for someone else, you can now present them with a sparkling rig with no oily residue filled with top-notch e-juice from Velvet Cloud!